Friday, December 23, 2016

Fabric Friday: December 23

I've been dreaming and scheming about a sampler project as a tribute to my love of travel for a while. I got Elizabeth Hartman's Patchwork City book last year and thought it would be the perfect thing to use, and have hesitated to start for just a couple reasons. I was pretty intimidated by template piecing--I've used rotary piecing almost exclusively since I began quilting. Everything else that stood in my way was mostly related to laziness--I didn't have the templates prepped, I didn't have a block picked to start, I didn't have fabrics picked for a block, I had plenty of other projects, etc, etc...it was all stalling because I was intimidated. But! I have decided to go for it.


I've been acquiring cute travel prints for a while, and I couldn't resist the canal print from Kate Spain's Grand Canal line. But--I ordered it from Fabric.com with some other things, and so of course I ended up with a full yard due to their terrible pricing model on quilting cotton. I cut some off to make a notebook cover for my travel-loving sister, and decided that the scraps left from that cut would be perfect for a first block. But what prints to use with it?


I struggled at first with pulling coordinating prints for her notebook cover and ended up using solids. So when I decided to use the scraps for a block, I again had to consider coordinating prints. And I ended up with two separate stacks that both work equally well. I thought I'd showcase both of them here for Fabric Friday just to show how different two stacks that coordinate with the same focal print can be. Honestly, I can't even decide which one I like better, so I'll probably use both in the quilt.


I used a metallic print in both stacks and I think that complements the idea of Venice really well. Venice is so rich, and steeped with a history of wealth, that I think it works on a theoretical level. I did find that I had to be really careful with the blues and aquas because of how much of them there are in the background of the print. That was what I really struggled with when I was sewing the notebook cover. It needs good contrast so that the piecing is distinct.


So, as I was taking pictures of these stacks, I put them together, and realized that they make a really nice single stack, too! *sigh* I feel another quilt coming on!

Tuesday, December 20, 2016

Moda Sampler Shuffle

Several months ago, I got a hankering to start a sampler project, and settled on the Moda Sampler Shuffle. The quilt along was long over, and I had saved the block patterns during the quilt along, but Fat Quarter Shop has maintained the patterns on their blog, so I used their site as I sewed. I finished all the blocks just a few days ago, and while I'm not finished with this quilt project (I plan to add more blocks to make it a more sizeable quilt), it's always fulfilling to reach milestones!


You may notice a few blocks missing from my lineup. That's completely intentional, but I still finished with 30 blocks. Two of the blocks were applique and that wasn't what I wanted for my project for a couple reasons. First, and maybe most importantly, I hate applique. I'll do raw edge with fusible in certain instances, and I'll do wool hand applique, but I just don't enjoy needle turn or other hand-sewing methods. So, I avoid it. And second, the blocks really weren't the style I was going for. I wanted my quilt to look more contemporary, and the applique designed blocks are very traditional. No thanks. So, I skipped those and don't feel one bit guilty.

I did end up with 30 because I messed up on one, but liked the finished block, so I have two from that pattern (the chevron block), and I chose to remake one because it didn't turn out like I wanted and I wanted to try it again in a different color layout. I'm really pleased with how the second turned out. But, since there isn't anything really terribly wrong with the first, I'll include it too. So, 30. From 28 patterns.

I think I'll add blocks from the Splendid Sampler that's going on now (and from which I'm dutifully downloading patterns), but I'll surely skip any applique there, too. And I might just remake a few from the Sampler Shuffle in different color layouts. We'll see. I have a whole box full of scraps I pulled for this project that didn't seem to get any smaller. For now, I might take a bit of break and prep a new leaders and enders project because I'm out of my current one. There are always plenty of projects, aren't there?

Friday, December 9, 2016

Fabric Friday: December 9

We're here at another Friday...another week gone, another week closer to Christmas...and no progress made on my Christmas sewing for my girls...it's really tough now that they're older. My oldest, who is almost seven, stays up until 9:30, and by then, it's too late for me to pull out a sewing project and start. But--we have a neighborhood sewing night coming up on Tuesday, and I'm hoping that if I can get everything cut out, then it'll be easier to pull out when I have a few minutes here and there. We'll see.


I pulled this bundle out last week when I pulled my Tuscan bundle. I'm so drawn to navy and aqua right now, I just love them. I wanted to add a pop of something, and I tried orange, but I like these pinks better.


I'm knee deep in my Shimmer quilt, and I'm still working on my sampler project, so I don't really need a new project just yet, but pulling fabric is sure fun!

Monday, December 5, 2016

Cutting Up My Kona Color Card {Tutorial}

Over the summer, I bought Amy Ellis' pattern for her Majestic Mountain mini quilt. I HAD to make it, and 
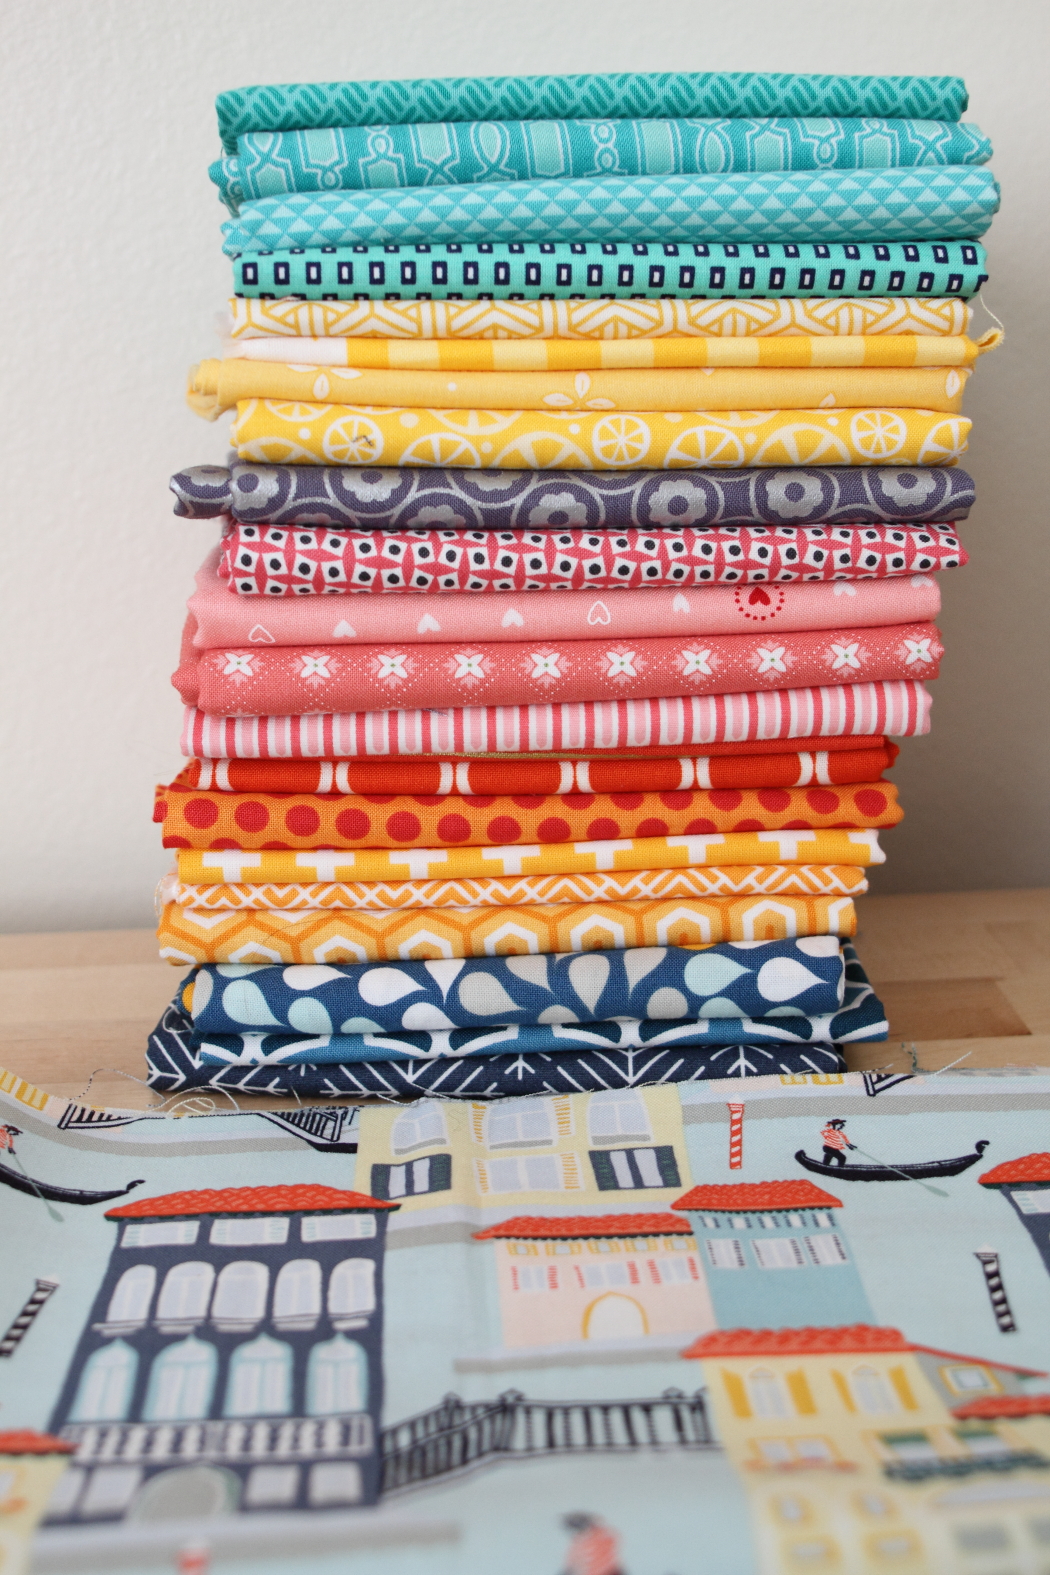
I'm so pleased with how mine turned out! But picking the colors was no easy task. I had a Kona color card, but it was so difficult to pick colors that would work together from the tiny swatches that were so far apart from each other on the card! If you have a color card, I'm sure you know exactly what I'm talking about. You do your best, but in the end, it's just impossible. This was the first time I was needing to use it to pick solids to go together instead of picking solids to match fabric I already had, and it proved too much.

So, I cut it up.

I know a lot of people have done this, but I was nervous and I wasn't sure how I wanted to store it exactly. I was worried about losing swatches, and I was worried about finding the easiest way to use them. I know lots of people punched holes in them and strung them on a chain, but the swatches are so small already that I didn't want to punch a quarter inch hole through the color. And then I saw a post on the Anything Pretty blog. She cut hers, mounted them on velcro and stuck them on a canvas. I thought it was brilliant! I didn't have to punch a hole in them, and it seemed like a great way to store them: as decor. It would be one less thing I need to find a place for me in my cluttered sewing room.


So, first things, first. I didn't find a whole lot of great tips for how to do this, so I thought I'd really spell it out. After all, "cut it up" seems like directions, but what's the best way to do that, really?

I don't know if the way I did it is the absolute best way, but it worked well for me.

I started with a dull rotary blade and used my rotary cutter and quilting rulers to cut it. It was hard, I'm not going to lie, and I did it over several days because it put a lot of strain on my hands. But, doing it this way meant that I got really straight cuts, and I imagine it was easier on my hands than scissors! Note that because the swatches aren't all the exact same size, you need to do rows individually. No short cut here--every piece has to be cut out. I cut rows the width they would end up (a fraction below the name) and then cut the strips into pieces.

Next, I bought rolls of velcro with adhesive backs so I wouldn't have to glue. I bought 3/4" wide velcro and I found it at Lowe's. Again, I think "stick velcro on the backs" isn't very helpful, so here's exactly what I did. I tried peeling the velcro and then cutting it, but this gummed up my scissors a lot faster than when I cut the velcro in pieces with the plastic still on. So, do that. I found that it was easier to keep the velcro from tangling up by separating the two sides of velcro, which come next to each other on the same piece of plastic. Cutting it apart was pretty quick, and then you can set aside the half you're not working with. And, I elected, like Anything Pretty, to put the loop side on the back of the color card pieces so that if I put them on fabric I won't risk the hook side snagging my fabric.


Last was the trickiest part for me: applying the velcro strips to the canvas. I cut a tiny bit off and stuck it to the back to test the adhesive, which seemed pretty strong to me while I was putting it on the color swatches, but the next morning, it pulled right off. This very likely might have been due to the face that I used a tiny piece, but I wasn't wiling to risk it after all the work I went to since I reasoned it could be due to the uneven and flexible surface of the canvas. So, even though the velcro had adhesive on it, I used glue, too. I didn't want the strips to peel off when I pulled color chips off.

I bought a 24x36 canvas from Joann's when canvases were 50% off. It still ended up being $25--this is not a cheap project! I used blue painter's tape to create a 1" border around the canvas to keep my strips even, and then I marked my strips with pencil and my 6"x24" quilting ruler to make sure they were evenly spaced and level. Make sure you use a light pencil line--after I glued down a few strips, I went back and erased the lines so they were fainter because you can see the pencil through the velcro. I spaced the lines apart by 2", so the strips are closer than that since the swatches are over an inch tall.

I started by finding the middle line and then measuring out from there--you'll need 13 lines total. And for the glue, I used E600. So far, it's holding well! I found a package of single use tubes at Target of all places, and bought that even though I had a large tube at home. My large tube was several years old and I knew it would be difficult to squeeze it out evenly.


After glueing the velcro down, I spent a bunch of time sorting the color swatches, but that part was fun, as I'm sure you can imagine!


I'm really happy with how this project turned out! I love that it's a prominent piece in my room and that I can see it all the time. I love playing with the color chips and picking out new color combinations. It worked out really well, and if you're looking for a way to cut up your card, I'd definitely recommend it!

Friday, December 2, 2016

Fabric Friday: December 2


It has been way too long since I posted a fabric bundle. I posted last about fabric way back in February! I pretty much abandoned it during my first trimester when I was SO exhausted. And fabric kinda made me nauseous....yes, that's an awful feeling. But, I'm feeling much better and spending a lot more time in my sewing room. One day last week, I got a hankering to pull some fabric. I pulled two bundles, not exactly sure what I was going to do with them, but anxious to pull. It's therapeutic to sort my fabrics, selecting stacks that would work together. So, this bundle is inspired by our trip to Italy a year and a half ago, specifically Tuscany. I went back and looked for a specific photo that had inspired it, but didn't really find one: I think after looking through them all, it was more of an impression I had. So here's a couple pictures that contributed. :-)


Not exact colors, but they do give the feeling I remember from Tuscany...


When I think about Tuscany, I think of sienna and butter yellow and grass green with pale blue skies and purple and pink flowers. Washed out, almost neutral colors. It's a beautiful palette. These aren't pale, per se, but it's lovely. And I can't wait to return to Italy. It was a beautiful vacation, and one of the best parts was all the delicious food, especially since I ate so extraordinarily well and didn't worry one bit about food safety for my Celiac Disease.


And I seriously need to find a great pattern to use these in!