I am so excited to share about my trip to Sewtopia in Milwaukee! It was amazing. More amazing than I could have hoped. There are a bunch of pictures, and a lot of them are even more terrible than my usual sub-par standard because interior lighting is ROUGH. But hopefully they give you a good idea!

First, while my sewing bestie did not get a ticket initially, Megan and Amy saw my note on an instagram post that she had not gotten a ticket and when one came available a week before the event, they emailed me and offered it to her directly. So she got to go! I was majorly impressed with her spontaneity. I was nervous about being by myself when so many of the attendees had been before or were attending with friends and I worried I would feel lonely. That worry was unnecessary, as everyone was so exceptionally friendly and inclusive, but I was still glad she got to go. I didn't really know what to expect, but I did anticipate bringing home more than I took with the shop hop. I didn't realize how much extra stuff we'd bring home, though! We got amazing swag bags with patterns and precuts and batting and more, and everyone gets a doorprize at some point through the weekend, and many of them were fat quarter bundles. You can see the one I picked in a picture below, barely, in the picture with the pouch I received in the swap.

The event on the whole was so fun. The shop hop was great and I got some fun fabric, including some great additions to the quilt I worked on for Latifah's class (more on that later). The saddest part to me was that the shops seemed understaffed and overwhelmed by our visit, and cutting and checking out took FOREVER. I only got to one shop at the second stop instead of both shops (which were just a block away from each other) because they had only one person cutting and one person checking out. So I waited roughly 40 minutes to get cut. I try to not feel FOMO too hard, but I was disappointed to not get to both shops. We also visited a quilt and textile museum, which was pretty cool, although it took longer than I think we really had budgeted for in the shop hop unfortunately. There was a 25 million stitches project on display, which was in recognition of the refugee crisis. It was dark, and there were so many embroidered panels, so pictures were hard and I only took some of the some of the panels I really loved, one is below.

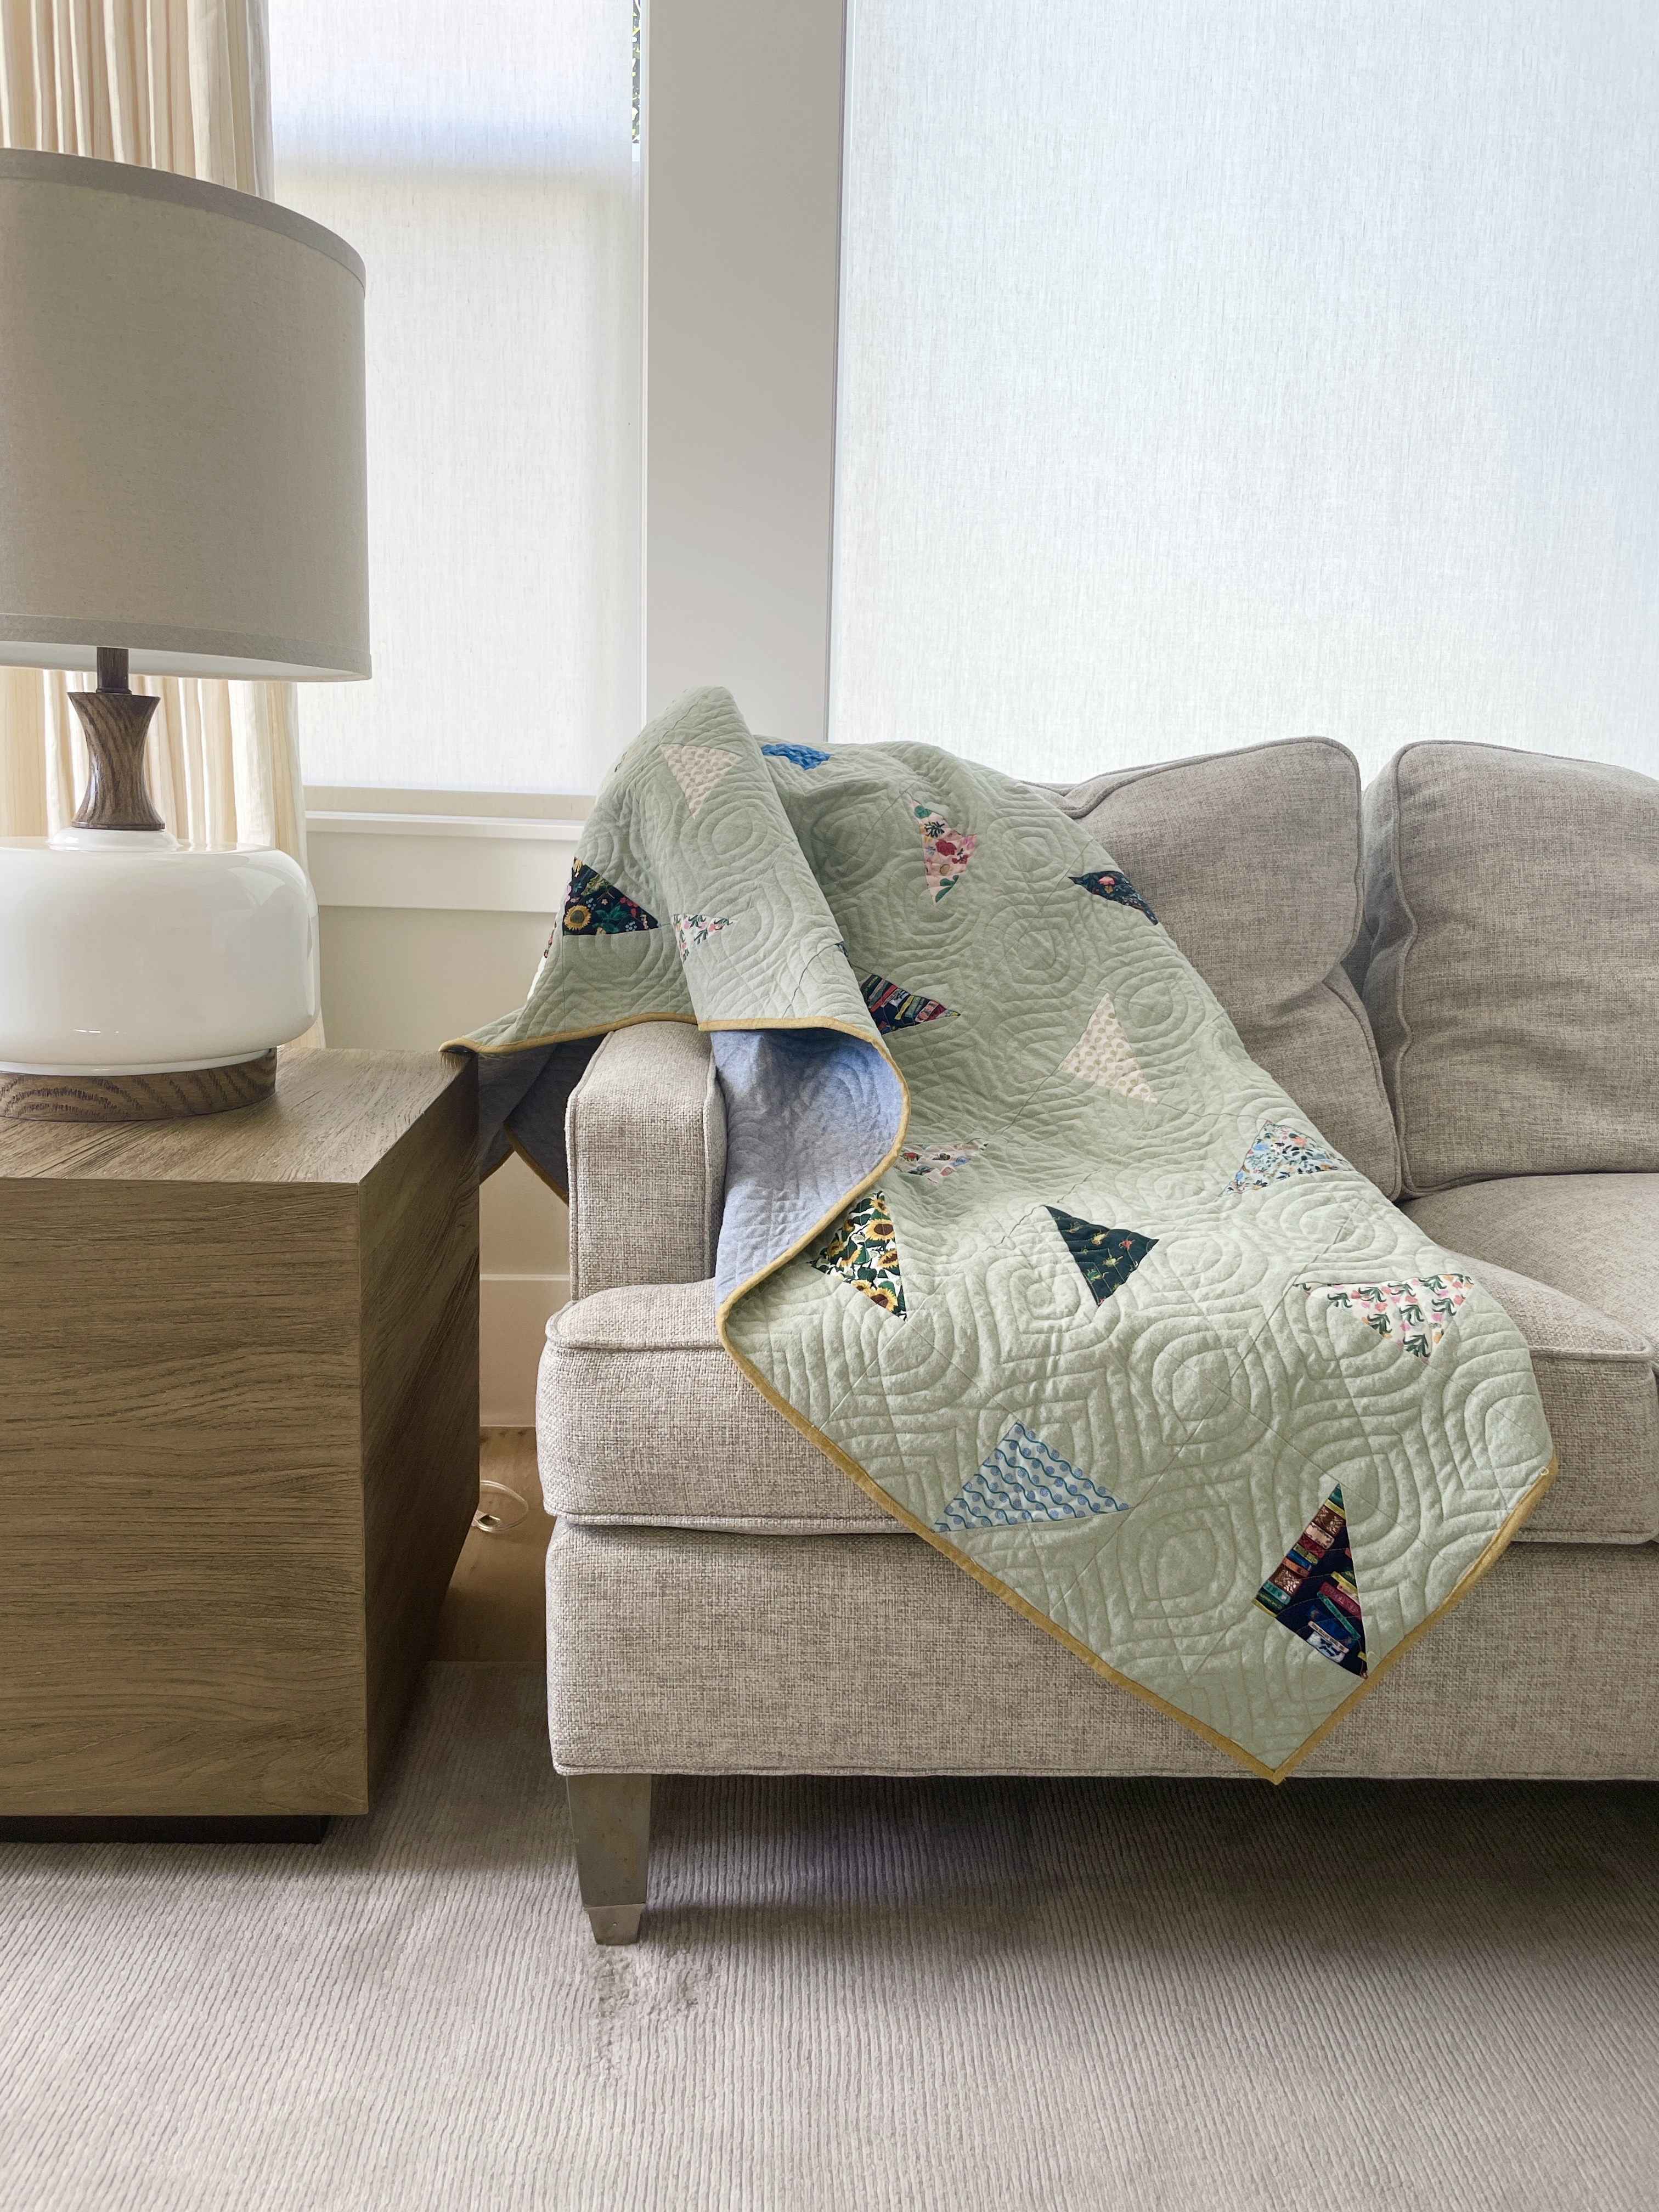
I took my Wasatch quilt project to work on because it seemed like it would be mindless sewing since it's a log cabin construction and I used solids, and it was a great choice. I was in the afternoon classes, so we had a couple of open-sew periods before our first class, and I nearly finished my blocks during the weekend. I miscut and was 8 pieces short of one of the colors, so I couldn't finish it. But, I was so happy with my progress and was able to quickly finish the quilt after I got home. It's now at my quilter's for longarming.

We had two instructors for the weekend: Latifah Saafir, who taught her Glare quilt, and Violet Craft, who taught us how to turn a photo into an EPP pattern. Both were so great! I got three "blocks" done for my Glare quilt, and I'm excited to jump back in this weekend to work on more. I'm a little nervous about the assembly, because she showed us briefly at the end, but it seemed a little tricky even though the curves are nice and big and gentle. I am using Tula Pink's Daydreamer line, and it feels funny to me to use a single line. I never do that! But I thought the flamingos were perfect for the centers and it just kind of snowballed from there. It's going to be a pretty bright quilt for me, but I think it'll be really pretty.

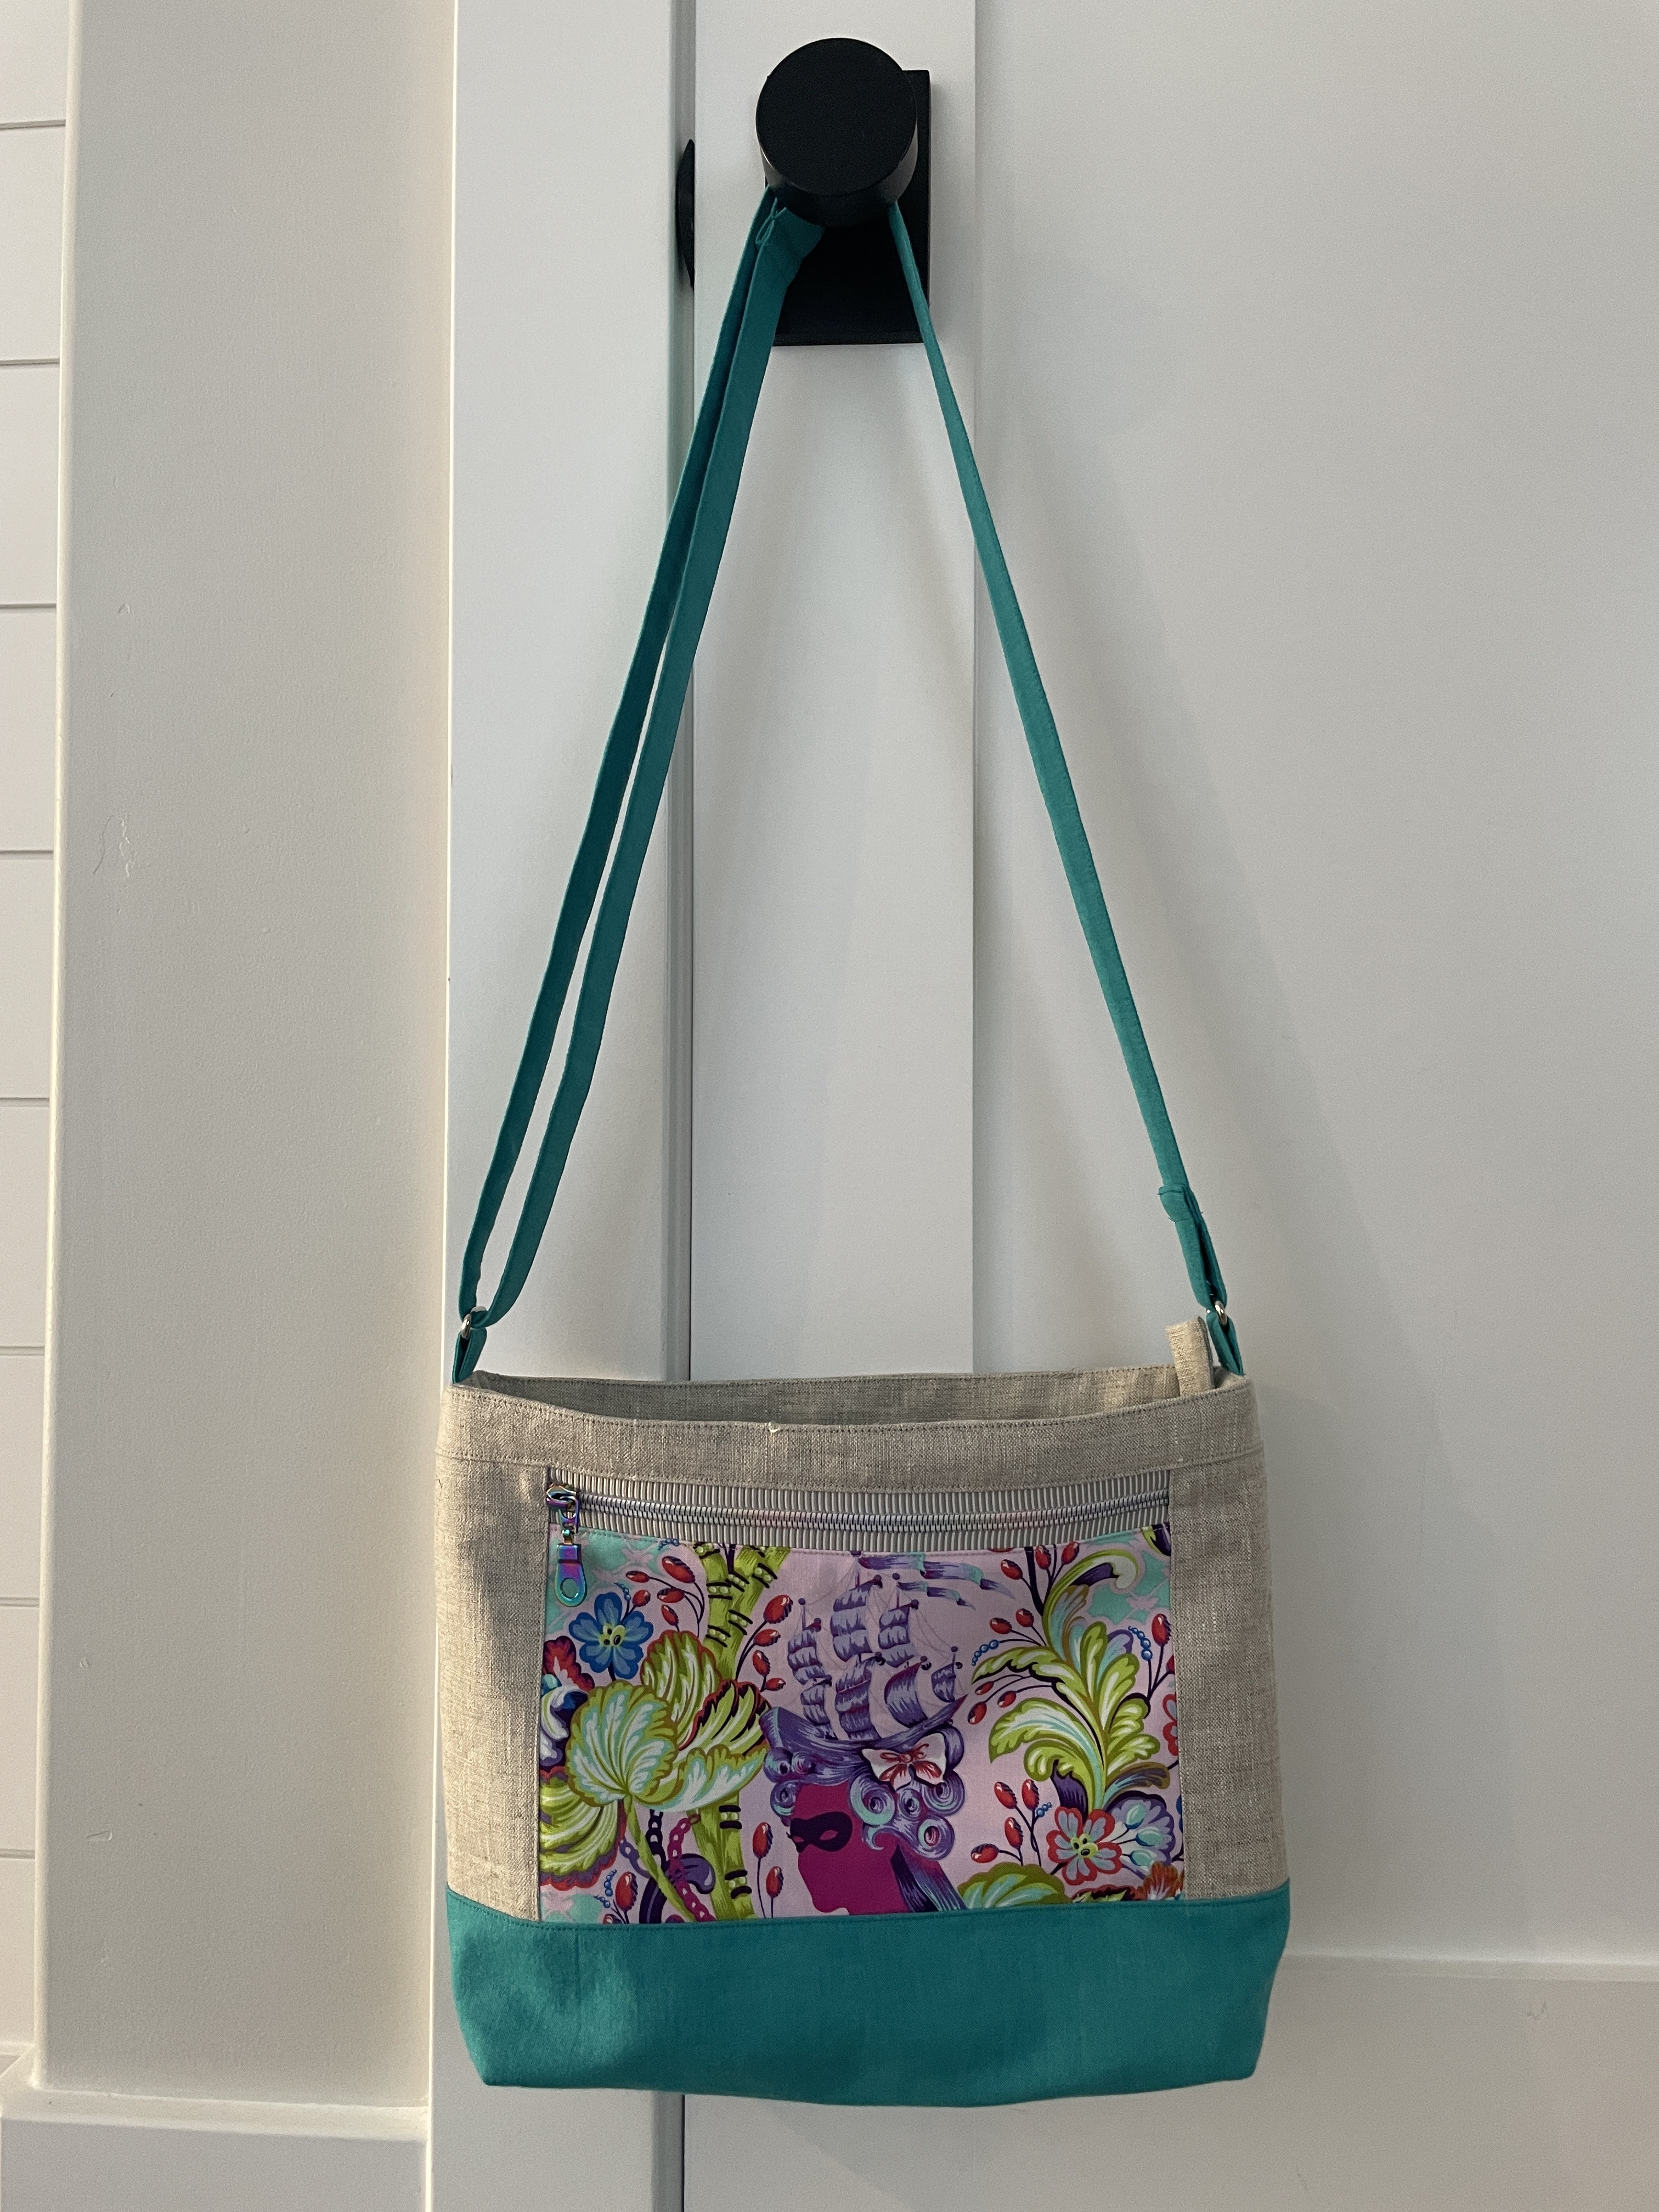
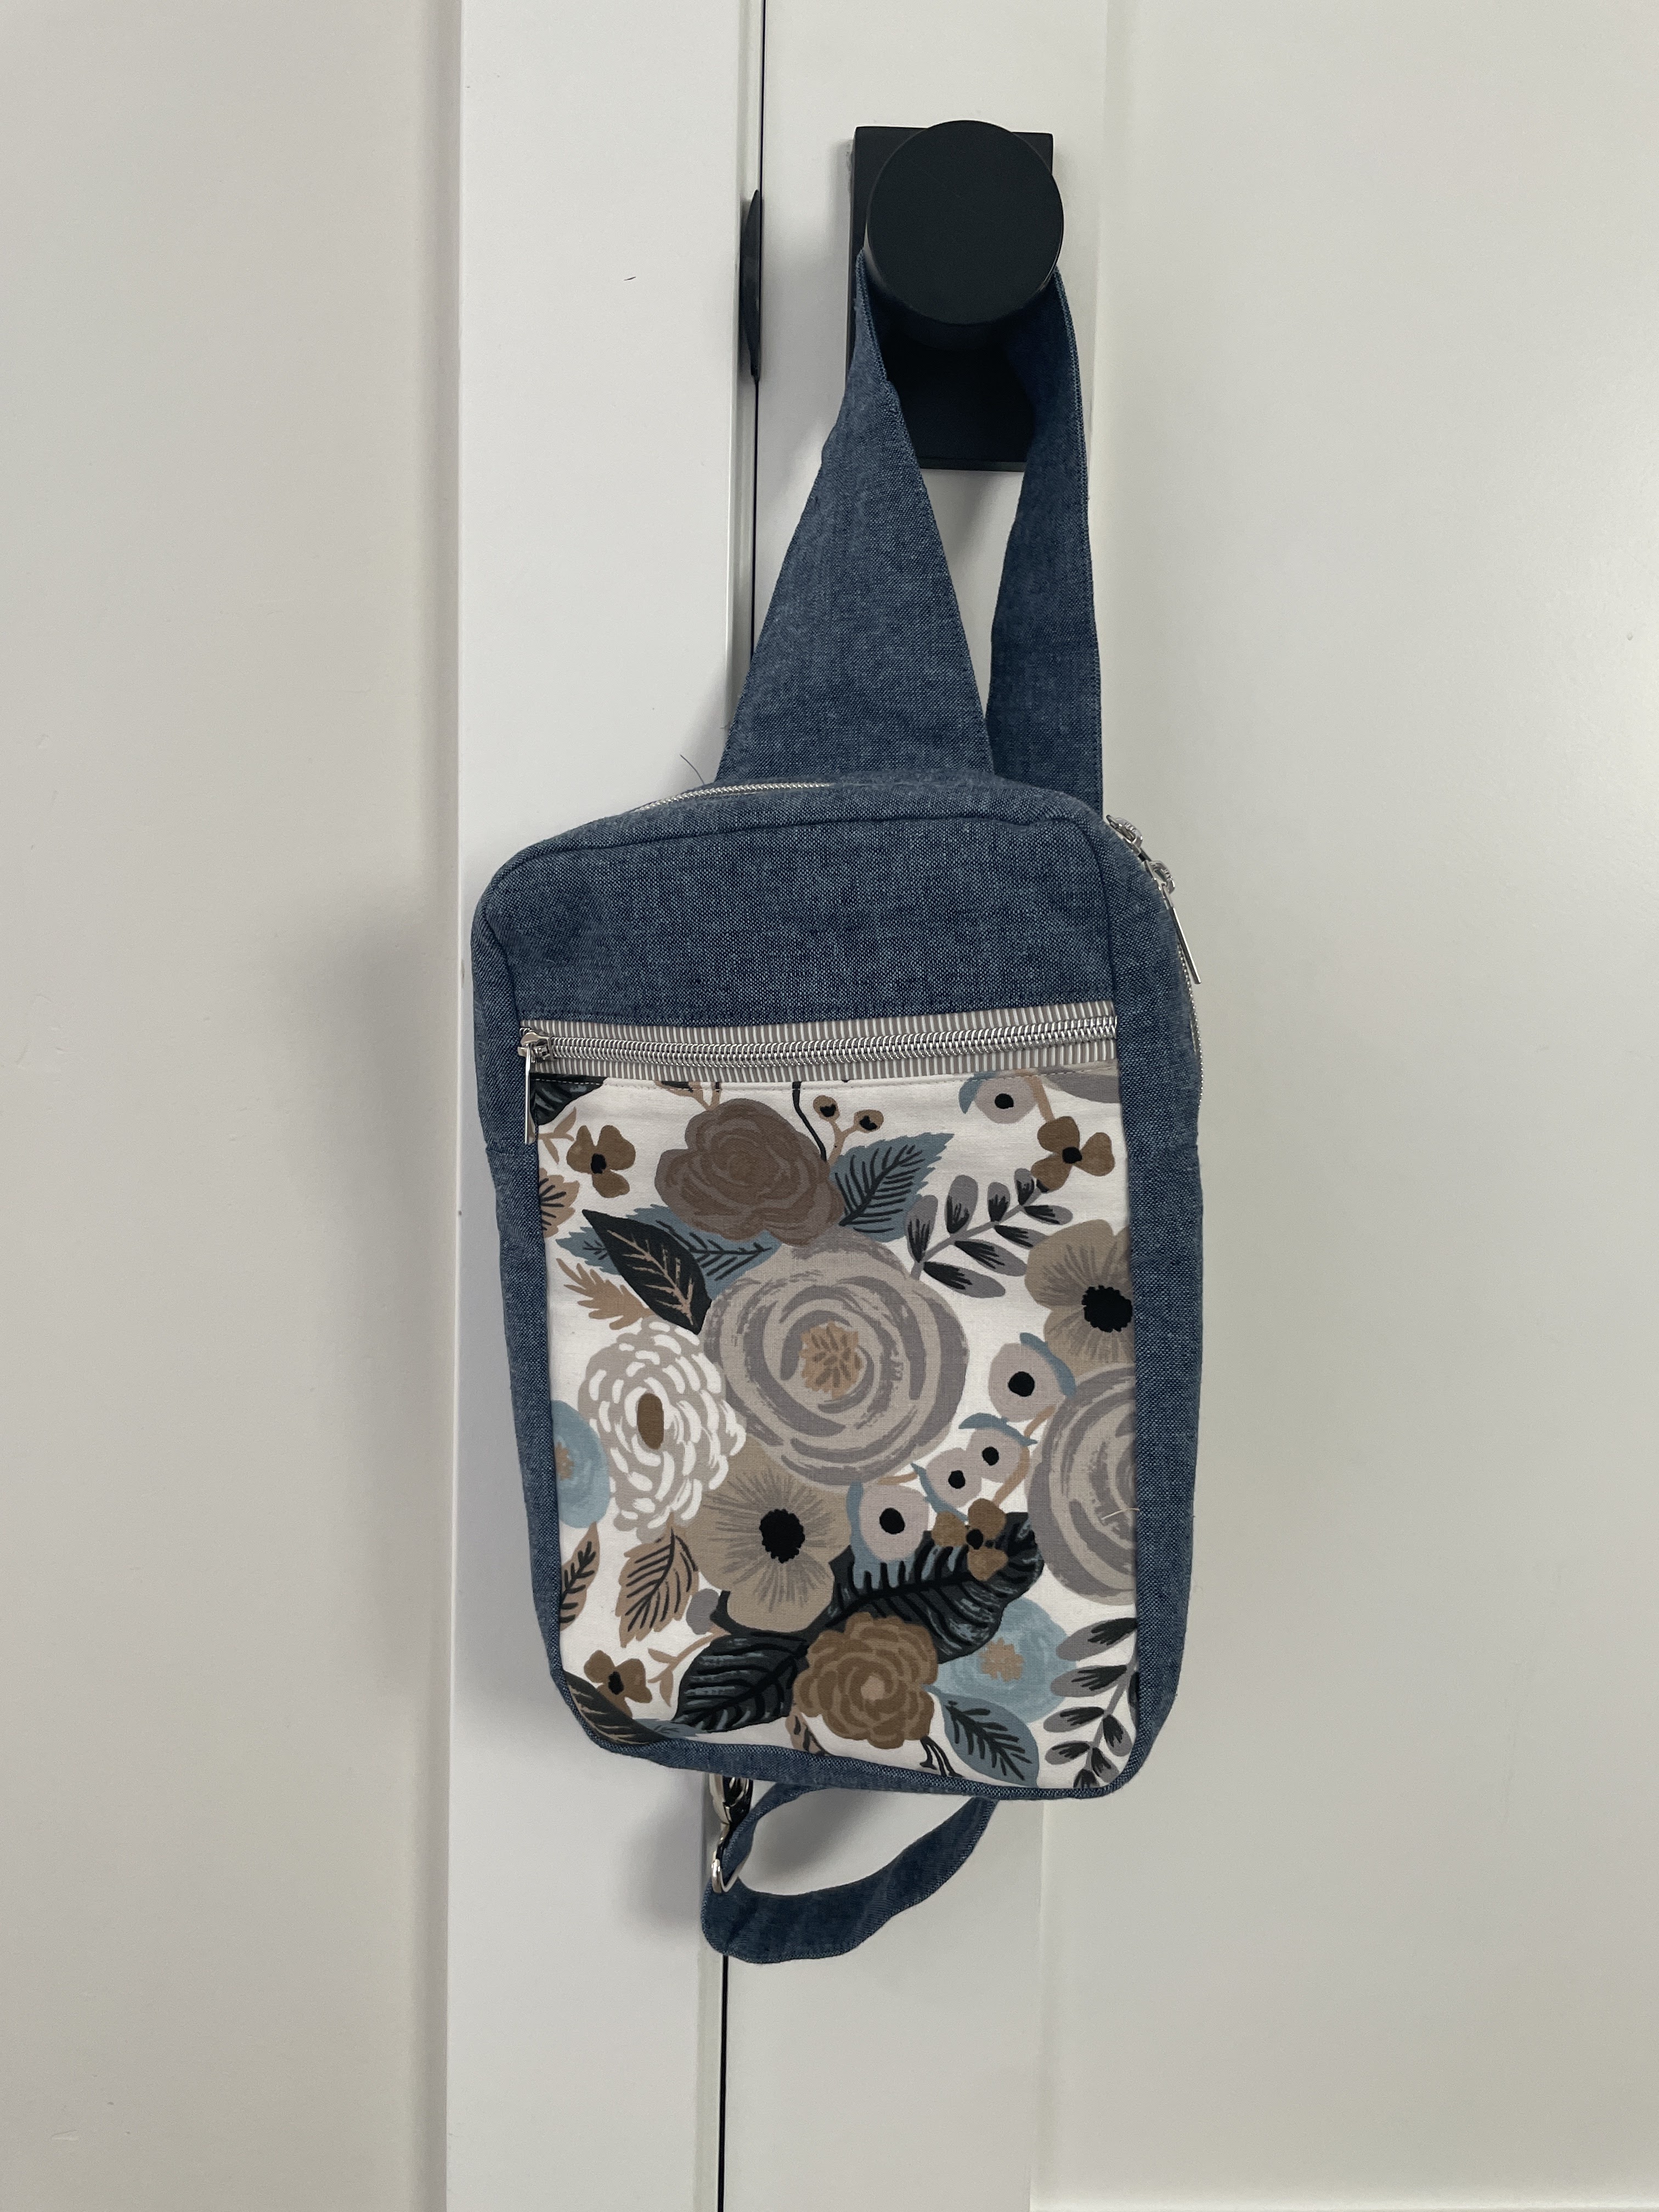
As I've shared previously, I didn't feel comfortable participating in the Super Secret Swap just in case I wasn't up to enough awesome sewing before the event. But I did sew a swap item and Phyllis got my Luisa crossbody bag, which she loved with the focal Tula Pink print. I got a lovely pouch made my Anja. The zipper work looks so tricky and she said she struggled, but it looks like she breezed through it. The topstitching was well done, I assure you, and my girls have already tried to take it for themselves but I wouldn't let them.
The biggest news I have to share is that I won the fabric challenge!

For every event, Sewtopia hosts a fabric challenge, and this one was sponsored by Windham. We were sent 6 fat quarters, including three prints by Heather Ross and three solids. I brainstormed and wanted to use the stripes creatively, that was my biggest focus. I decided to make an Above the Cairns quilt, designed by Jenny Haynes, even though I haven't taken her workshop. I have taken her Hexibore workshop, and I have some of her templates, so I just went with it...I had to print the largest durkard's path template from Electric Quilt. My goal was to have the lighter peach snail print and the orange solid blend together with the striped fabric which had the peach and orange colors in it. I used the strawberry print for the centers and since they kind of resembled cobblestones, I titled it Roman Cobblestones because of the delicious strawberries we had there when we visited a few years back during strawberry season. I quilted it with my walking foot, using a design from Jacquie Gering's Walk book for the main center. Amy said my quilting was what really sealed it, and I got loads of compliments on the quilting. I felt so proud of it!

I never quilt my own quilts, and this was really as big as I'd want to quilt myself. I got a first place ribbon, made by Megan, and a box of fat quarters of the full line of Windham solids. I'm thinking maybe I'll order Violet Craft's peacock quilt pattern and use them for that, which seems fitting.


