Friday, July 31, 2015

Mini Mania: Ferris Wheel

After posting a photo of my English Paper Piecing project, Lesley commented and told me about a Flickr group she participates in, Mini Mania Challenge. After seeing the current project, an EPP Ferris Wheel design made by Felice of Sew Scatterbrained, I really wanted to participate too, and got to work.


I used my Silhouette Cameo to cut out the pieces because I'm really bad at using scissors. I know that sounds just a little ridiculous, but I'm a lefty, and if you aren't a lefty, you just can't quite understand. Our scissors are actually different, and it's just a little trickier. Ask a lefty: they'll tell you :-)


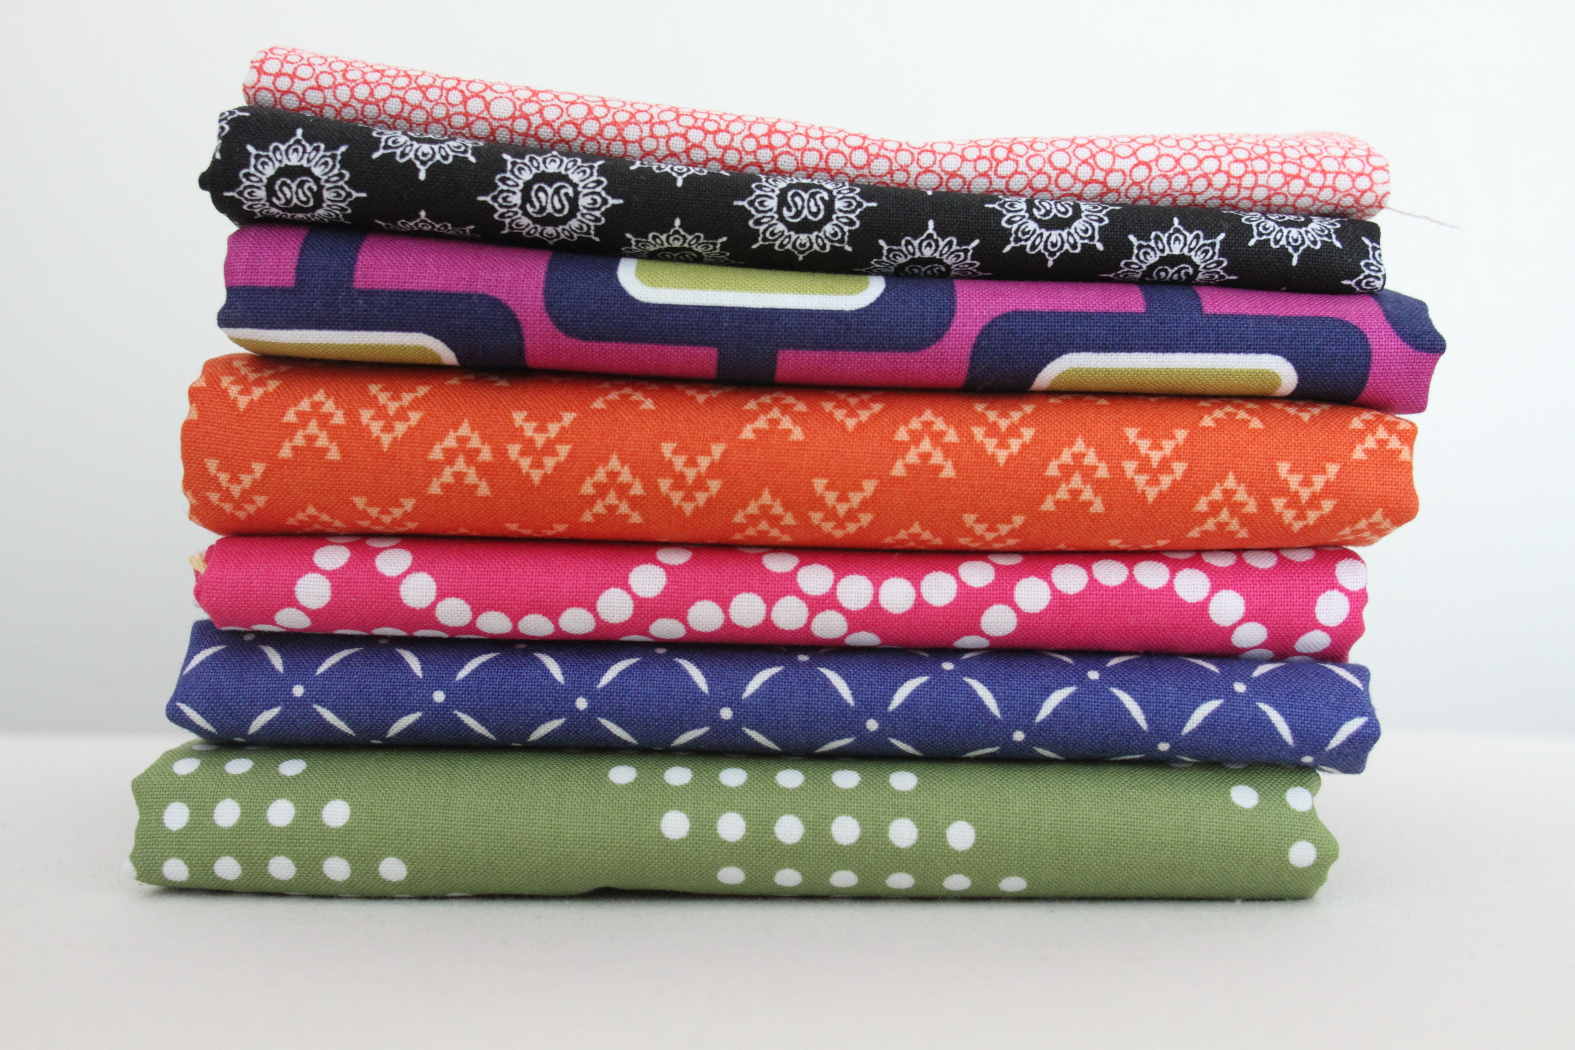
So, to make my pieces, I printed out the templates on regular copy paper and measured. Then I used the polygon tool to create the shapes, and before I generated all 100-some-odd pieces, I "assembled" the pattern on the screen to make sure the shapes fit together the way they were supposed to. Once they did, I replicated them out, and got *almost* all the pieces out of one 12x12 sheet of cardstock. I used a textured cardstock because that's what I had, and it was a little thicker than I would have liked, but on the whole, it worked. I used black and red, and realized after I had started piecing that it may not have been a great choice because of the pressing. I worried there would be color transfer during pressing, but there wasn't, thankfully. Next time, I'll use white or a neutral if I can.


And I jumped right in! The tiny pieces were tricky, and the quilt ended up smaller than I would have hoped for, to be honest. If I were to make it again, I'd increase the templates by 50%. But I really love how the colors worked together, and the shapes weren't difficult to piece together. There are some holes in the centers, but I'm not too worried about that, because it's a wall quilt, but I definitely need to improve my skills! It was great practice, though, and I'm really glad I made it.

I'm also pretty pleased with the quilting; I used my walking foot and quilted just inside the hexagons, and I love how it made the colored pieces really pop. The back looks pretty cool, too, in my opinion! (Don't mind my poor binding skills, though...)


I can't wait to see what next month's challenge brings!

Fabric Friday: July 31

August is tomorrow! And school is almost back in session. I can hardly believe it! This week has flown by. I had an old college roommate come and stay with our family for a few days while she did some field work locally, and it was great to see her. I've also been preparing a very low key going away party for a family in our neighborhood who are moving to Texas. We are sad to see them go.


But, I've still managed to get some sewing time in, including my first project for the Mini Mania Challenge Flickr group! I'm really glad I did it, because it got me a lot more comfortable with English Paper Piecing, and I'm finding it all rather addictive. :-)

I'm in between large quilting projects right now and am trying to settle on what to work on. I'm considering the Arabian Nights quilt from A Quilter's Mixology, Diamonds in the Sky from Scrap's Inc, and a Christmas quilt (table runner maybe?) We'll see. Now that I have a better space to sew in (still doing the happy dance with my new sewing space!), I feel like it'll be easier to have a large project going and still do small stuff along the way.


So onto the fabric! The bundle this week is an expanded bundle of a few prints I picked out to make a bag from. I still haven't gotten up the courage to cut it out yet, so I guess that's nice because I can use it here today.


From top to bottom: Remix by Ann Kelie, Nomad by Urbanchiks, Moonlit by Cotton and Steel, Madison by Michael Miller (I think...), and Miss Kate by Bonnie and Camille.


And the bag fabrics I plan to use together are the middle three.

Have a great weekend!

Monday, July 27, 2015

A new sewing space!

I am really very lucky and have had my own room for sewing since I started sewing, save a few temporary months while my sister stayed with us. But, it's always been make-shift, with a cheap hand-me-down particle board desk to sew on and a folding chair. For a long time, we had an extra bed in there, and we also stuck a treadmill we got from my grandpa in there.


Once it was time to move my youngest daughter into a big girl bed, I was excited. We were planning on them still sharing a room and that meant that the spare bed that had been in my sewing room would be leaving. Yay!

This is my messy closet. It's still pretty messy, but a little less so, as I was able to move some things onto the Expedit shelving unit.

I also got a new Bernina, as I've mentioned, and the particle board desk just wasn't cutting it anymore, and I needed a better surface for cutting. A regular desk or table is just too low for me.


So I spent months scheming. I spent a lot of time on the Ikea website. And I finally made some choices.

I ended up changing my mind and returning a couple of things, but once I had decided, it was pretty easy to implement.

Yep, I still use a folding chair, but that's temporary...I'm hoping from a hand-me-down office chair from a neighbor who has ordered a new one.
I bought two Bjorkudden tables. I initially planned to buy just one for my sewing machine, but the top was really an ideal size for a cutting table as well, and bed risers lifted it to the perfect height so we returned the not-quite-ideal desk and bought a second table. I'm so pleased to have a dedicated cutting space at the right height so I can cut more when I need to.


I love using a table for my sewing machine instead of a desk because I'm not limited to where on the surface I can put the machine. If I want to slide it all the way to the right so I can rest the bulk of a quilt to the left of the machine, I can.


In moving the bed into the girls' room, we also lost the necessary space for their Expedit bookshelf, so I inherited it and put it in the corner. It's perfect for storing my boxes of scraps, patterns, and a few other notions, and I have a box full of specialty rulers right on top. I was hoping to claim a bookshelf or something, and it worked out perfectly.


I was finally able to sort my scraps into (hopefully) more usable storage. They went from two very crammed drawers to 8 storage containers (7 are Ikea SAMLA bins). I divided them this way:

  • Warm colors, small pieces (pieces that would be approximately one piece for piecing)
  • Warm colors, larger pieces
  • Cool colors, small pieces (pieces that would be approximately one piece for piecing)
  • Cool colors, larger pieces
  • Neutrals
  • Larger cuts (smaller than fat quarters, larger than the largish divided color bins)
  • Precuts (cut by me: 5", 3-1/2", 2" and mini charm packs)
  • Whites (which is in a smaller, shoebox sized plastic bin)

We'll see how I get along with this division. So far, so good, and I've been pulling from it for smaller projects. Yay!

(Also: I don't buy fabric by the bolt, but I did get a couple of empty bolts from a local shop to store larger cuts on. So nice!!)

I also made myself a design board! I used sound board like Angela Pingel, but duct taped the batting down instead of stapling it. I love it, and my girls love it too.

So far, I'm really happy with my space. I think it's going to enable me to sew more efficiently because I have things better organized and can use the space more effectively. And the cutting table is really going to make a huge, huge difference. I know it's not super pretty yet, but I have a bunch of mini quilts in the works or on my wishlist, so that will help. :-)

Huge thanks goes out to my awesome husband for helping with the tables and design wall, and for letting me take over an entire bedroom!

Friday, July 24, 2015

Fabric Friday: July 24

It's Pioneer Day here in Utah, and we celebrate our Utah history. Unfortunately, it's only semi recognized as an actual holiday, so while some people are off having fun, my husband is working. He could have taken a vacation day, but we have a trip we are hoping to take with our girls in September, and need to conserve days.

Anyway...all of that is just to say that we are sort of celebrating around here, but not really.


So, fabric! The bundle this week is small because it's actually a bundle I've picked out to make a bag out of. But, it's still pretty and I still want to share. I think I might make the pattern I had picked out of different fabric and save this for a different pattern...we'll have to see.


The floral is Halle Role by Lila Tueller Designs, the gray is From Bump to Baby by Gina Martin, and the solid is a Kona but I have no idea which one. :-)


Have a great weekend!

Tuesday, July 21, 2015

Oh Snap! Camera Mini Quilt

Have you seen the Snapshots fundraiser quilt along over on Fat Quarter Shop's blog? It was designed by Bonnie and Camille and features darling blocks that are pictorial. They aren't all my taste...but some are super cute. Including a block they planned for the back featuring a camera. I love photography, and knew I had to make it. I just needed a project for it.


I have a dear friend who shares my love of photography, and I knew she'd love the block. So I turned it into a mini for her. I dug out this cute print from my stash featuring kitchen utensils since she's an avid (and talented!) baker and cook. Bonnie and Camille use a plain white square for the lens, but I feel like that's a wasted opportunity to use a beautiful focal print. I'm planning another one for myself (I'm thinking about turning it into a sewing machine cover), and I've got a Paris print picked out for mine.


I love how it turned out. I envisioned it as more asymmetrical, but it's a pretty big block and it was tricky to keep the mini's size in check. The only other thing I would change is the fabric I picked for the flash. I like the idea of what I picked, and couldn't really figure out something better, but there's not quite enough contrast with the white background. 


But, I love the color combination, and I LOVE the striped binding. Love. I hope she loves it too, and I hope it reminds her that I really value her friendship. She's one of my favorite people in the whole world, and those people deserve quilts. 

Friday, July 17, 2015

Fabric Friday: July 17

Happy Friday!

I'm gearing up to go to my neighborhood group's sewing retreat staycation, and I'm super excited. I'm counting down the time until my husband gets home and I can kiss my family goodbye for the evening.

Last week I mentioned not being sure what I wanted to take, and I spent the week deciding and prepping. I cut out a bunch of stuff, all of it small stuff, so hopefully I'll have stuff to show off next week. I know I won't finish everything I prepped, but hopefully I'll come home with several finishes!


I also have a bundle of fabric. They are all Kona cotton, but I don't have any names, sorry. *hangs head in shame* I really am planning on buying a package of stickers and keeping them in my purse at all times so that when I'm at the fabric store, I can stick a sticker on with the name so I'll remember. They're all also different yardages obviously, and now that my images are in blogger, I realize the second up from the bottom really lost its hue in the transition from photo software to online, darn. It's a faint minty aqua mist color, and is fresh and clean and lovely. Not dingy gray as it might appear.


Have a great weekend; I know I will!!

Friday, July 10, 2015

Fabric Friday: July 10

Another week, come and gone. Right now, I'm trying to decide what project to take to my neighborhood quilting retreat. Last year, our monthly sewing group got together for a stay-cation retreat: one of the women offered her home and we all could come and go as necessary from Friday afternoon through Saturday afternoon. It was perfect: we could sleep at our own homes, take care of our families as necessary, but also set up and leave our machines and projects for the whole time. We had such a good time, we are making it an annual tradition, and we're having it next weekend.


Which means I need a project. :-) I'm just about done with a quilt top, and I'm really hoping to finish it today so I can drop it off when I pick up my Swoon from Abby Latimer tomorrow.


So I'm debating between starting a quilt (which would mean getting everything cut out first, since I can't cut at standard dining table...) or a bunch of smaller projects...I want to make a sewing machine cover for my new Bernina, I have some knit fabric I want to sew into a top for me, and some knit I bought to make a ruffled scarf, and some chambray to make a skirt for my daughter, and a bag pattern  (or three...) I'd like to make...there's plenty of small stuff.

So...while I think about that and finish up my current quilt (which just needs borders), here's a bundle of fabric!


Top to bottom: Mixed Bag by Studio M, (No line noted) Tina Higgins for Quilting Treasures, Mind Your Mummy by Kim Christopherson of Kimberbell Designs, Flora by Joel Dewberry, Nomad by Urbanchiks, Metro Living by Robert Kaufman, and Best. Day. Ever! by April Rosenthal.

Happy Weekend!

Wednesday, July 8, 2015

WIP Wednesday: Discovering English Paper Piecing

I'm not sure what finally made me decide to try out English Paper Piecing, but I'm really glad I did! And now I'm wondering what took me so long to jump on the bandwagon. I think I was put off by the whole "hand-piecing" thing because I'm not very good at hand-sewing. I've tried needle-turn applique, and that was pretty much a joke for me. I'm sure I could have improved, at least a little, with practice, but honestly, I started out really, really bad at it. And I didn't even like it--why practice something you don't enjoy?


So why would I even think about trying EPP? Well...I don't like hand-applique, but I do really enjoy hand-embroidery. Again, I'm not very good at it, but I enjoy it, and I feel like I'm improving. And I really like wool applique. I wish wool applique was more my style, to be honest, because I think it's a lot of fun, but I haven't seen a lot of patterns I would want to make for myself.


Anyway, EPP. I tried it, and instantly fell in love! Nearly instant gratification. Simple. Portable. Uses up scraps. What's not to love? I mean, really.

I got started with the tutorial/video on Craftsy with Amy Gibson's Craftsy Block of the Month class from several years ago. I can't even tell you how many times I watched it, dissecting it, trying to decide if it were something I could even attempt. In the end, I just went for it.


And, I decided to do it with the same layout she did for one of her blocks, except I'll make multiple blocks and sash them all together instead of using it in a sampler.


And now, I'm dying to try out new shapes! I need to get some cut out--I'm thinking my Silhouette Cameo is going to make me a perfect EPP companion...stay tuned for updates on that!

I'm linking up to Lee's WIP Wednesday at Freshly Pieced.

Monday, July 6, 2015

Daytripper Bag: Pattern Review

After my first bag, I couldn't resist making a second. I loved that I finished the project up within a few days instead of weeks like a quilt. And I really loved that it was a better bag for me than the bag I had been using. My friend told me that bag making was addicting, and sure enough, I couldn't help myself.


Luckily, I stumbled on to a pattern sale at Dog Under My Desk, and while I had been wanting to make her Two Zip Hipster, I ended up buying the Daytripper bag instead. I loved the feminine shape and thought it would work perfectly with the Cotton and Steel fabric I had purchased.

I had to gather supplies, as it required several different types of interfacing, but I was able to purchase all of them at Joann's. I bought the additional strap supplies at Strapworks, and the zippers from Zipit on Etsy.

Once I got everything cut out, the bag went together pretty quickly; I finished it up in a weekend. And I have to say that the pattern was super easy to follow! I will not hesitate to purchase another pattern from Dog Under My Desk in the future.


Erin wrote the pattern as thoroughly as an excellent tutorial with plenty of pictures. She notes on the product page that the pattern is 32 pages long. I thought that included the 17 pages of pattern pieces, but it doesn't. That's 32 pages of instruction and detailed photos that make assembly a breeze. It was so easy to understand that I only unpicked once, and that one time was an error--I had actually sewn it correctly and then second-guessed myself.

Erin also provided excellent tips to make it easier to sew, including trimming the interfacing in the corners and tips for wrangling the bag in the sewing machine toward the end when it is quite bulky.


I made the mini version, and I wish it had been just an inch smaller in both directions. It's a little big for me as a purse, but it's large enough to accommodate a diaper and a package of wipes that  I still need to carry around, and I can easily fit a water bottle in as well. The mini version is more of what I'd consider a day bag, but that's alright. It's just small enough to not be too large.


The only major thing I would have changed was the zipper tab that's added to the end of the zipper. I love it, I think it makes it look so polished and it's a very effective closure for the bag. Erin has you sew the tab on as the last thing, but I didn't really see a reason to do it last and think it would be far easier to sew on earlier before the zippered gusset is attached to the bag. Since you trim the zipper to 3 inches past the end of the fabric, it seems you should be able to do that earlier and next time I make it, I'll definitely try it.

I have gotten a lot of compliments on my new bag in the past week, and several have said it doesn't look handmade, which is really one of the best compliments you can get, right?

Friday, July 3, 2015

Fabric Friday: July 3rd

It's July. Guys, it's already July. Wow. What's crazy to me is that in about 6 weeks, I'll have a kindergartner. Six weeks! Or whenever it is that school starts. Mid-August.


 This week's bundle is another bundle from my shopping spree last week...yes, I really did overspend. And I realized that I probably should have made a patriotic bundle for this week, but I'm honestly not all that patriotic. C'est la vie.


Top to bottom: Gardenvale by Jen Kingwell, Feed Company by Sweetwater, Madison (?) by Michael Miller, Nomad by Urbanchiks, mini pearl bracelets by Lizzy House, Aloha Girl by Fig Tree and Co., and Dottie by Cotton and Steel.