So, fast-forward a couple weeks and I was back in the same shop, and they were having a pre-Thanksgiving sale. The kits were 50%, which made them $6. Now that I had actually made one, and I knew the kit contained 1/2 yard of fabric, I recognized that $6 wasn't a bad price! So I picked up a couple of kits, in two different solid colors this time, and planned to make one for me and one as a gift for Christmas.
And, since it went together so quickly, I thought you all might like a quick little tutorial in case you are in need of a Christmas gift. One thing I really love about mine is that it's really soft and warm. My neck gets irritated if the scarf isn't super soft, but the double gauze is really great.
Oh, and lest you think I'm ripping off a pattern written by someone else, this is instructions for what I did. On a sewing machine. The instructions really were all for serging, and frankly, I didn't even know what some of the words meant. So, it's based on a kit, but my instructions below in no way resemble the included instructions. :-) Also--please forgive the terrible lighting on the progress photos--I mostly sew at night and the lighting in my sewing room is atrocious. I assure you all the pictures are of the same fabric, however different the colors look. ;-)
So, first things first. For one scarf, you'll need 1/2 yard of double gauze. Cut it into 2 strips, 9" by WOF (width of fabric).
Sew the two pieces together (using a 1/4" seam allowance) on both the short ends to create a tube. If your fabric has a right side, you'll want to do it with the wrong sides together.
We're going to make those two seams French seams. So, turn the tube inside out. Working with one seam at a time, fold the seam so the seam is inside and the sewn edge is nice and flat on the edge. You want to be careful to make sure it's nice and even, or it will end up a little skewed like my first seam. Sew a heavy 1/4" seam allowance so the raw edge is enclosed. Repeat on the other seam.
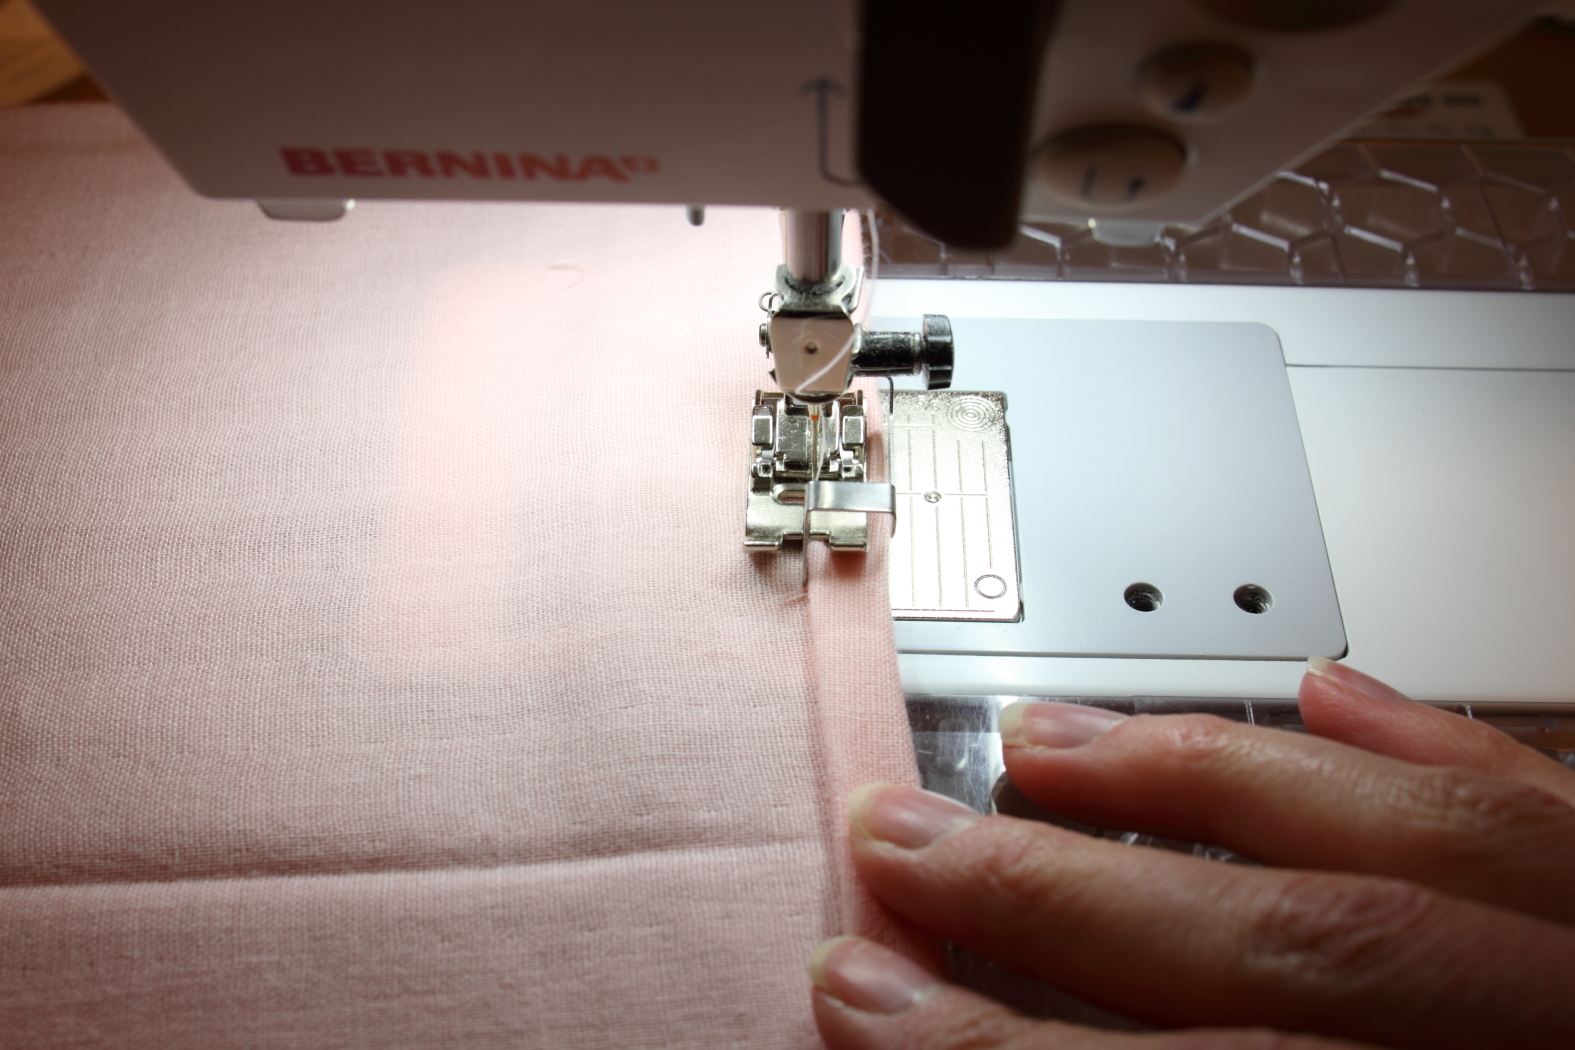
Next, we want to stitch that seam down so it stays nice and flat when you wear your scarf. If you have a topstitching foot (Bernina #10 or equivalent for your machine), now is a great time to use it.
You'll want to stitch the seam down as close to the edge of the seam as you dare.
You'll want to stitch the seam down as close to the edge of the seam as you dare.
The last step is to hem the edges. If you're fancy, you can measure and press and pin. I'm lazy.
I folded it under as I sewed. You can make this is as narrow as you like, mine is a heavy 1/4" hem.
 |
| The stitched down French seam from the right side of the scarf. |
I folded it under as I sewed. You can make this is as narrow as you like, mine is a heavy 1/4" hem.
That's it! Clip your threads and call it good. Again, if you're fancy, you can iron out any folds, but I figured it's just going to get more fold lines as it waits to be opened. Yep, I'm classy. :-)


No comments:
Post a Comment